Please note that this documentation is for the most recent version of this extension. It may not be relevant for older versions. Related documentation can be found in the documentation directory of the extension.
Setting up the Scheduler / CronJob
Scheduler for automatic import
The scheduler is a TYPO3 system extension used for scheduled execution of tasks and actions. The OpenImmo extension uses the scheduler to make regular checks for new import data from FlowFact, onOffice or other systems and then to import the data if applicable.
You can find further information on the scheduler here: Documentation on TYPO3 Scheduler
Scheduler configuration
In a newly installed TYPO3 system, the Scheduler extension is not installed. You will need to switch into the extension manager and install the scheduler there.

Info:
In order for the scheduler to execute future tasks configured to run in the future you will need to set up a system cron job that calls the scheduler. You can read about setting it up here: TYPO3-Scheduler CronJob documentation.
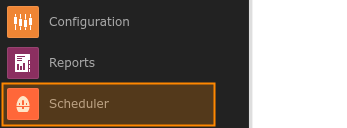
Then open the scheduler module in the backend - you will find it in the system modules section.

Then go to the Setup check view in order to check whether the scheduler is ready to use.

Import Scheduler-Task ("openimmo:import")
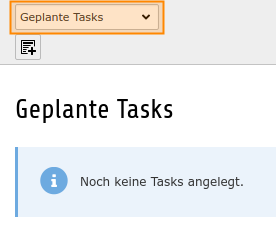
Now the scheduler is correctly configured, go back to the Scheduled Tasks view and click on the top button to create a new task.

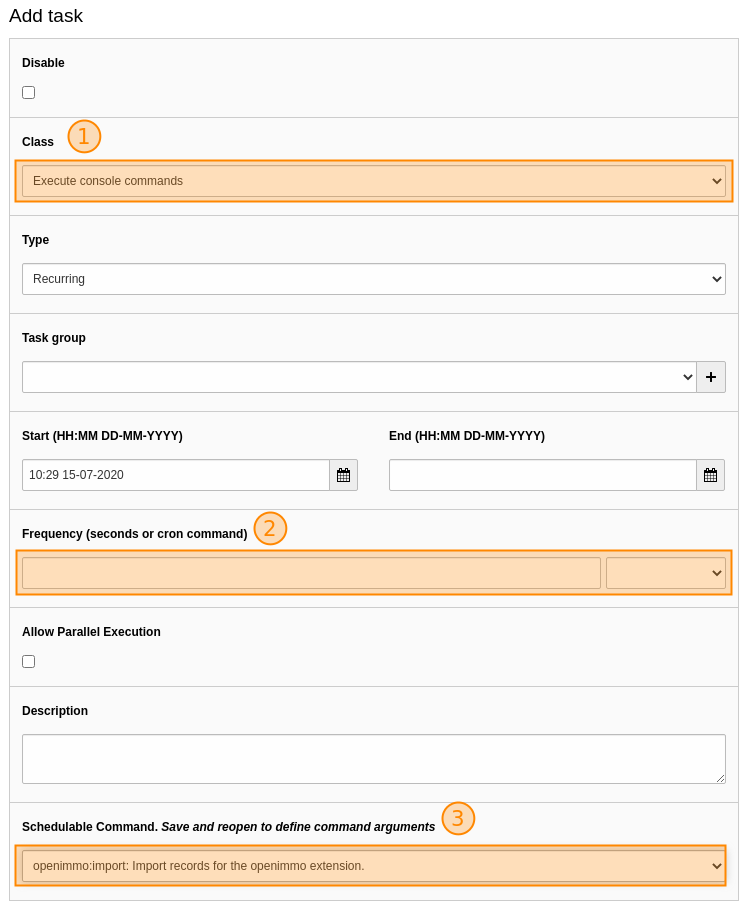
You can configure your scheduler task in this form.

- First, select the class that will create the scheduler task. In our case it's the entry Execute console command.
- Since version 8.0.1, a backend user UID must also be specified so that the scheduler can access the file storage associated with the connection. This should be the
_cli_user. - Next, specify the time interval the scheduler should use to check for new import data. The interval is specified in seconds. For us an hourly check is sufficient so we have entered (60secs * 60min) 3600.
- Finally, you need to enter which system console command should be executed - in our case openimmo:import : Import records for the openimmo extension
Warning:
Make sure that the time interval you enter is not too short. The scheduler task can take some time depending on the amount of data to be imported and overall system performance. The time interval should not be less than the system cronjob time interval.
Info:
If an import fails you will find log files for each import process in the directory
uploads/tx_openimmo/connection-id/log/(if activated). Users of the Pro version can have this log sent via e-mail.
Scheduler for Property alerts (saved searches) ("openimmo_pro:searchrequests")
The scheduler for property alerts does the following:
- When property alerts are nearing expiry reminder emails are sent so that users can extend the time.
- Each time a saved search is run the scheduler checks for suitable real estate properties and the user receives a notification email if any are found.
Info:
The OpenImmo data record container needs to be marked as 'Contains extension' OpenImmo - Immobilien for the scheduler to work properly. It can be found under the Verhalten tab in the page properties of the container . If this property has been correctly set the container will have a house icon in the page tree.
Planer-Task for the import of external data ("openimmo:fetchdata")
By using the Planer-Task "fetchdata", you dan import external data in the openimmo format.
Follow these steps:
- Create a planer task "Execute console command".
- Select "openimmo:fetchdata"
- Set the URL (eg. "https://wwww.example.com/data.xml") and the connection ID for which you want to import the data in the corresponding input fields.
- Set the intervall you like.
This task fechtes the XML file from the remote server and saves it to the folder of the selected connection but does not import it directly. You have add a "import" task additionally (see above).
Info:
The URL does not have to end with ".xml", but the data fetched from this URL has to be in openimmo XML format. This task uses "curl" to fetch the data, this has to be enabled on the server.
